
To replace windows in Maryland, make sure you have proper safety equipment on. Measure the window you intend to replace. Start by removing the current window. Then Test fit your new window. Caulk around the molding. Set the Window into the opening. Level the window. Center and secure the window with shims. Level again and verify the window is square. Let’s dive into more detail!
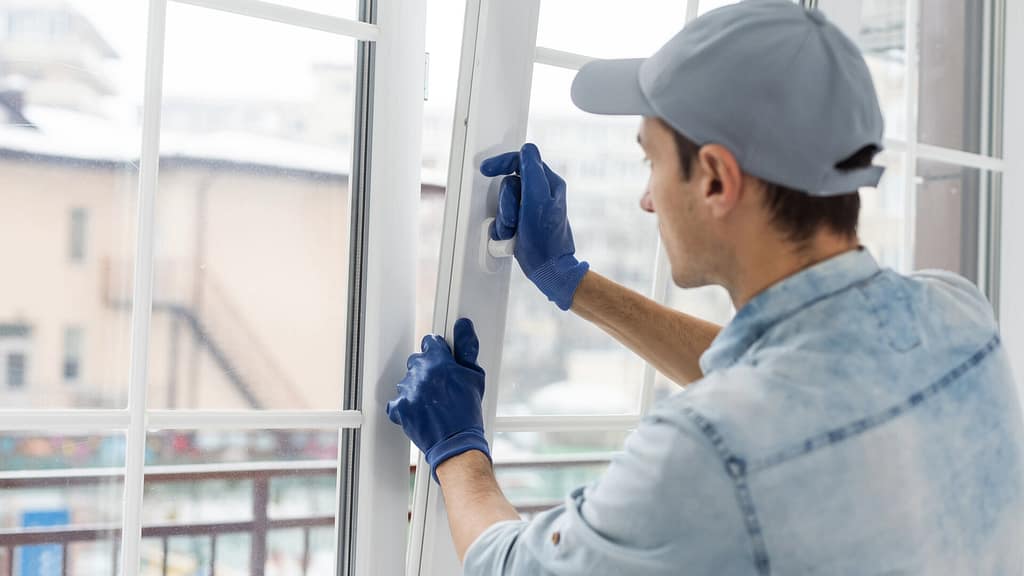
Table of contents
Safety First
Replacing windows might seem straightforward, but it’s essential to put safety at the forefront of the task. Before touching any tools or starting the removal and installation process, you must be prepared to handle potential hazards, such as broken glass or splinters. We don’t recommend installing a window yourself without consulting a professional.
Essential Safety Measures:
- Gloves and Safety Glasses: These are non-negotiables. A sturdy pair of gloves will protect your hands from cuts, while safety glasses keep your eyes safe from flying debris.
- Protective Clothing: Wearing steel-toed boots, long pants, and long-sleeved shirts can save you from potential injuries. These clothes act as a barrier against any glass shards or wood splinters that might come your way.
- Stay Alert: Always be conscious of your surroundings and the tools you’re using. Ensure you have a firm grip and are aware of where your hands are about the tool.
- Buddy System: Ensure to have another person assist you during the new window installation to prioritize safety and ease of installation.
Essential Tools and Materials Needed
Having the right tools and materials is crucial when replacing windows in Maryland. The correct items make the job easier and ensure your new window fits and works properly.
- Replacement Windows: Choose either pre-sized or custom, based on your requirements.
- Pry Bar: Useful tool when taking off the molding of a window
- Oscillating Saw: If the window is surrounded by a casing that you need to preserve or remove carefully, an oscillating saw can precisely cut through nails or adhesives without damaging the surrounding materials.
- Tape Measure: To check and measure if the window is square
- Drill and drill bits: If the existing window frame is secured with screws, a drill with a screwdriver bit can be used to remove them efficiently.
- Level: to check if the window opening or sill is level.
- Utility Knife: Handles various cutting and trimming tasks with precision and ease.
- Silicone Caulk: For sealing, bonding, and finishing, offering a weatherproof, flexible, and durable solution to ensure the window performs effectively for years to come.
- Caulking Gun: For applying sealants, adhesives, or caulk during the window replacement process.
- Wood Shims: To adjust the fit, support the weight, and ensure a level and plumb installation.
- Fiberglass Insulation: Essential for sealing the gaps around a newly installed window, preventing drafts, and enhancing the window’s thermal efficiency.
Note: Remember, each window is unique and might need extra tools for correct installation.
Window Replacement Process
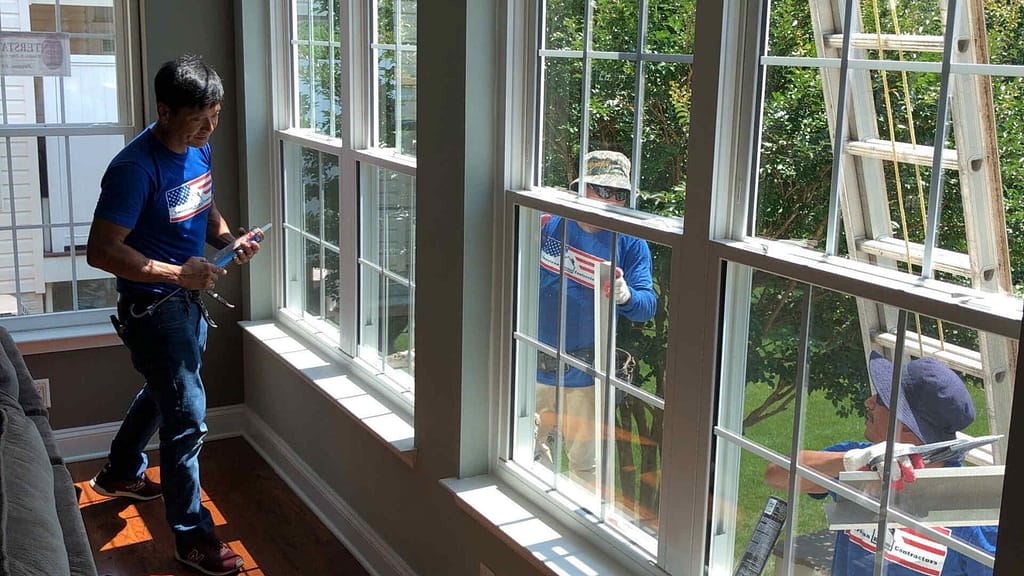
In Maryland, window replacement involves deciding between DIY or hiring a professional. If you’re handy and have experience with home projects, you might consider replacing the windows yourself. It can save money, but ensure you have the right tools and knowledge to avoid any mishaps.
For most homeowners, hiring a professional Window Replacement Specialist in Maryland is the best route. They’ll have the expertise and equipment to ensure the windows are installed correctly, ensuring maximum efficiency and longevity.
If you’re leaning towards DIY, check out our detailed guide below.
Measure Your Window
Make sure you measure your windows right. If you get the measurements wrong, you might face delays and might end up spending more money. For help with measuring, take a look at our guide on How To Measure Windows In Maryland.
Remove Your Old Window

First, take off the molding with a pry bar. Then, put a thin blade for cutting wood on your oscillating saw. Slip the blade between the casing and the wall or window frame, doing it gently. Turn on the saw and move it slowly along the casing to cut through the nails or screws. Move carefully to cut accurately. Once you cut through the fasteners, you can gently pull the casing away from the wall or window frame.
Prep and Clean The Area
For a pristine workspace before installing your new window, vacuum or remove any remaining debris in and around the window opening. This not only provides a clean surface but also helps in identifying any areas that might need further attention before the new window is installed.
Test Fit Your New Window
Test fit your new window into the opening to make sure it fits properly. It should fit snugly but not too tight. Then, use wood shims to help center the window in the opening. Place the shims around the window until it’s perfectly centered and level. This ensures your window sits just right in the space, making the installation process smoother.
Apply Caulk Around The Molding
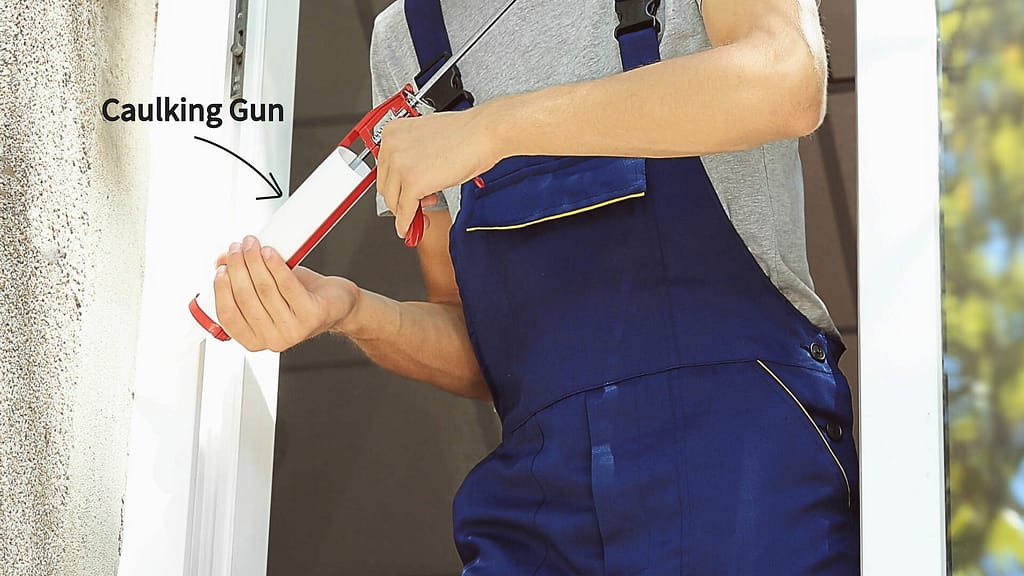
Use a caulk gun to apply a continuous bead of caulk around the window molding. This helps to seal any gaps and prevent water and air infiltration.
Set the Window Into The Opening
Gently position the window into the caulked opening, ensuring that it’s perfectly aligned with the space provided. The window should not be forced but eased into position, making small adjustments as necessary to ensure it sits squarely and snugly within the prepared opening.
Level The Window
After putting the window in the opening, it’s important to make sure it’s straight and level. Use your level to check that the window is straight both ways: side-to-side and top-to-bottom. If the window isn’t straight, you may need to move it a little or use shims to help get it level.
Check If The Window Is Square
To check if the window is square, simply measure its diagonals. Using a tape measure, measure from one corner of the window to the opposite corner, and then do the same for the other two corners. If the two measurements are the same, the window is square. If not, you’ll need to make some adjustments. Use shims to tweak the window’s position until the diagonal measurements match. After making adjustments, measure the diagonals again to ensure the window is perfectly square.
Attach The Window
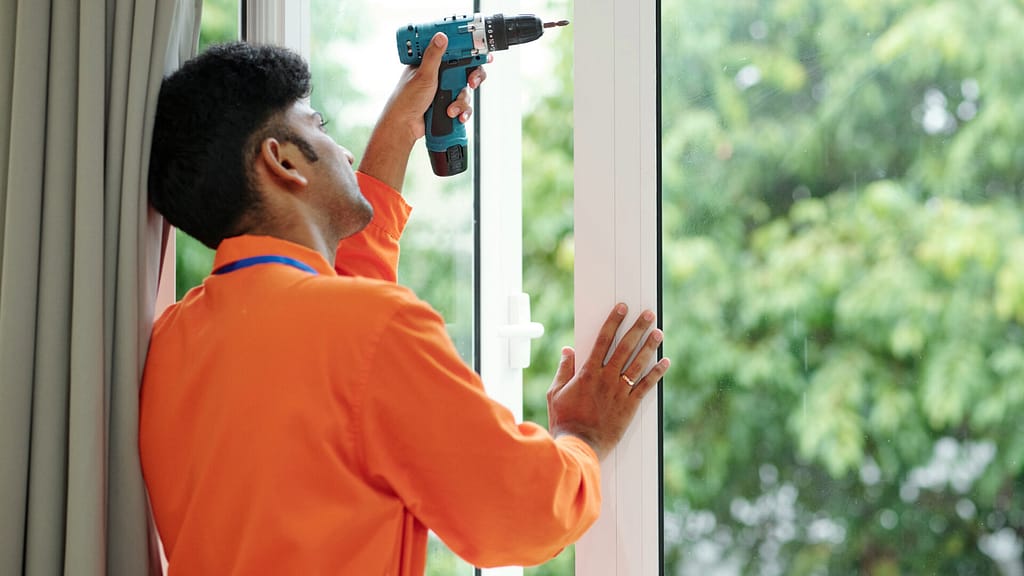
To attach the new window, you’ll use screws to secure it. Find the preset holes located on the inside of the window frame. These holes are designed for this purpose. Take your screws and insert them into these holes, then tighten the screws to make the window firm and steady in its place.
Insulate The Window
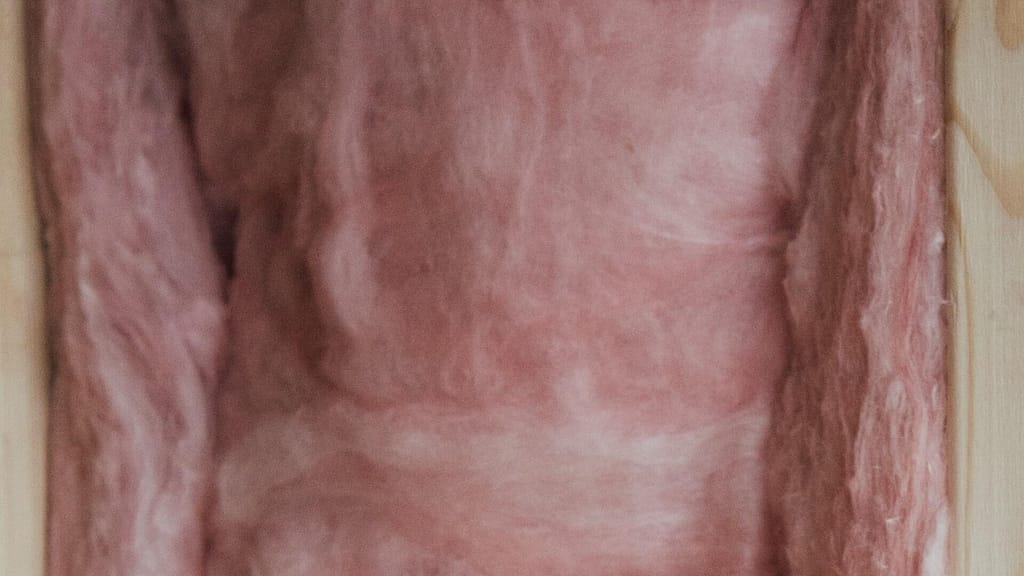
Use fiberglass insulation, which is a fluffy, pink or yellow material. Look for any spaces between the window jambs, and the wall. If you find gaps, gently stuff them with small amounts of the fiberglass insulation. Be sure to fill the spaces snugly but not too tightly. This step helps block cold air from entering and warm air from escaping, making your home more energy-efficient and comfortable.
Apply Paintable Silicone Caulk
Carefully run a line of caulk along the edges where the window meets the wall or frame. The caulk will act as a sealant, closing off any small gaps that might let air or water sneak through. Make sure the line of caulk is even and covers the entire perimeter. Once applied, you can paint over the silicone caulk to match your window frame.
Tips To Consider
For a seamless DIY window replacement, consider these tips:
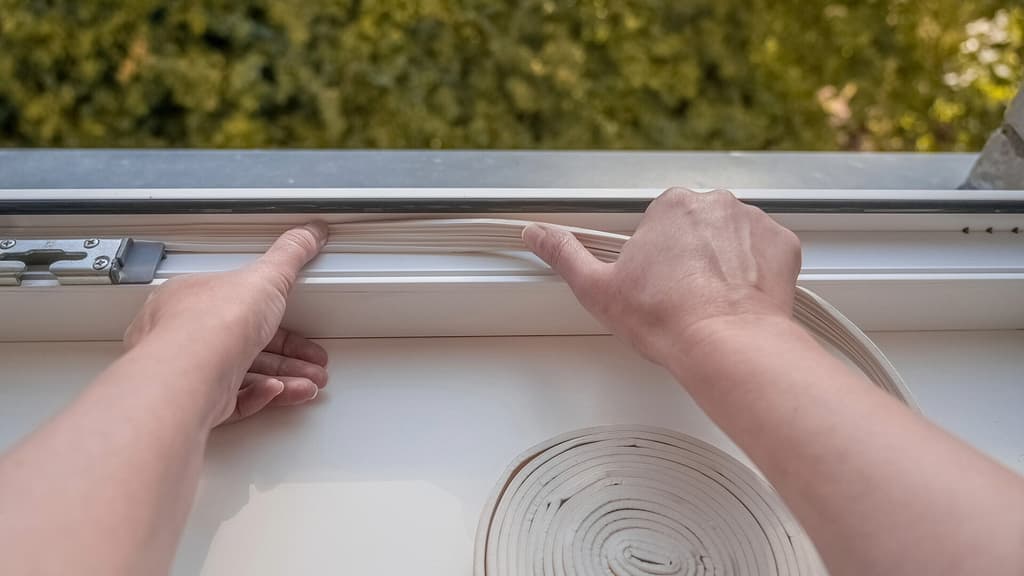
- Add Weather-stripping: Further, fortify your window against external elements by placing weather-stripping. This extra layer of protection ensures your window remains airtight, especially beneficial during extreme weather conditions.
- Choose Quality Caulk: Invest in a high-quality caulk that’s specifically designed for windows. This can ensure long-lasting sealing and resistance to weathering.
- Avoid Over Tightening: When securing the window with screws, be careful not to over-tighten. This can warp the frame, which might affect the window’s performance and appearance.
- Clean the Glass: After installation, give the glass a good clean to remove any fingerprints, dust, or marks. Use a soft cloth and a window cleaning solution for the best results.
- Maintain a Clear Perimeter: Keep the area around your window clear for a few days after installation, allowing the caulk and other materials to properly set without disturbances.
- Recycle Old Materials: When disposing of your old window or any unused materials, consider recycling options. Many components can be recycled or reused, promoting sustainability.
- Post-Installation Inspection: A day after installation, inspect the window for any gaps, issues in sealing, or operational hitches. Addressing them early ensures the longevity and efficiency of the window.
Should you find yourself uncertain or hesitant about replacing a window by yourself, consider viewing this YouTube video for additional guidance and confidence.

Permit Requirements
In Maryland, the need for building permits for window replacements often hinges on the specifics of your project. If you’re considering changing your current windows’ size or introducing new window openings, securing a permit becomes essential. Such modifications might impact the building’s overall structure, necessitating an official review.
Yet, if you’re merely exchanging old windows for similarly sized new ones, or using inserts that align with your existing frames without any structural tweaks, permits typically aren’t required.
Additionally, if you live in a community with a Homeowners Association (HOA), you should also review their guidelines. HOAs might have specific regulations or aesthetic standards regarding window replacements. To avoid any unforeseen complications or fines, it’s wise to consult both your local building department and your HOA for the most up-to-date rules.
Conclusion
In conclusion, replacing a window in Maryland involves careful planning, measurement, and the use of specific tools and materials, with safety being of paramount importance. Whether you decide to take the DIY route or opt for professional installation, understanding each step of the process ensures a seamless, efficient, and effective window replacement. With this comprehensive guide, you’re now equipped with the knowledge to either embark on a DIY project with confidence or engage with professionals more informed.
Fact check by Jacob Petrosky – 10/9/23