
Thinking about painting your door in Virginia? Our guide takes you through it all, from checking the door to selecting tools, sanding, priming, and painting. Your door will look brand new in no time. Let’s get started!
Table of contents
Check your Door First
Before embarking on your painting project, inspect your door for any signs of damage. Merely painting over deterioration or rot can seal in moisture, intensifying the problem and potentially causing future structural concerns. If your door is extensively damaged, it might be more beneficial to replace it rather than paint it. If you’re uncertain about the condition of your door, it’s wise to seek advice from a Door Specialist in Virginia. But if your door is in good shape with no major damage, keep reading our guide below.
Safety Precautions
Before painting a door in Virginia, always think about safety. Wear gloves to keep paint off your hands and a mask so you don’t breathe in paint fumes or dust. Doors can be heavy, so it’s good to have a friend help you. This way, you won’t hurt yourself trying to move or hold the door. Being safe makes the painting job easier and better for everyone.
Preparation
Preparing the area before painting your door is essential for clean, efficient, and safe work. This step prevents paint splatters on floors and valuables, ensures the paint adheres well to a clean door surface, and promotes a smoother painting process. Ideal locations to paint your door include a well-ventilated garage or an or an indoor space with drop cloths and open windows for airflow.
Also, think about the best time to paint your doors, too. It’s best to paint when it’s between 50°F and 85°F outside. If it’s too hot, the paint might dry too fast, leaving brush strokes or small bumps. If it’s too cold, the paint might not dry well and could feel sticky.
Note: When you are planning to paint an exterior door and if you’re a member of a Homeowners Association (HOA) or reside in certain areas, there may be specific guidelines regarding paint colors. To prevent potential issues or the need for repainting, it’s advisable to thoroughly review and adhere to both HOA and building code requirements before starting your painting project.
Gather Tools and Materials Needed
Having the right tools and materials is key to making the job of painting your door easier. The right tools and materials save you time, effort, and give you a better result.
- Safety Gear (gloves and mask)
- Paint (100% acrylic latex is recommended)
- Paint primer (especially if the door hasn’t been painted before or if you’re changing colors)
- Paint brush or rollers
- Painter’s Tape
- Drop cloth
- Tack cloth
- Fine grit sanding block
- New hardware – if you intend to replace your old one
- Pair of Sawhorses
- Hammer
Remove the Door and Hardware
Begin by taking off the door’s hardware. Then, to prevent paint drips and streaks, detach the door itself. If the hinges have pins that can be removed, use a hammer and screwdriver to tap them out. On the other hand, if your door has non-removable hinge pins, you’ll need to unscrew the hinges from the door frame. Start by opening the door to access the hinge plates. First, slightly loosen all screws in the first hinge to balance the door’s weight. After that, fully unscrew and take out each screw one by one. You might want a helper to hold the door steady as you remove the pins to ensure safety and ease.
Place the Door on the Sawhorses
Once you’ve taken down the door, set it atop the sawhorses. By positioning the door horizontally on the sawhorses, you minimize the risk of paint drips and streaks that often occur with a door in its vertical position. This method guarantees a more uniform and polished appearance.
Use Painter’s Tape
If there are areas on the door you don’t want to paint, such as glass or certain designs, use painter’s tape. This tape keeps those parts safe from paint. Push the tape down well so paint doesn’t sneak underneath.
Sand the Door
Gently buff the door with a fine-grit sanding paper. Sanding offers several benefits: it smoothens any uneven surfaces and allows the paint to bond more effectively to the door’s surface. After sanding, use a clean cloth to clear away any residual dust, ensuring a clean canvas for the paint.
Apply Primer
Apply a thin coat of primer to the door. Using primer has several advantages: it provides a foundation that improves paint adhesion, ensures a more even color distribution, and contributes to a longer-lasting finish. After the primer application, allow it to dry thoroughly.
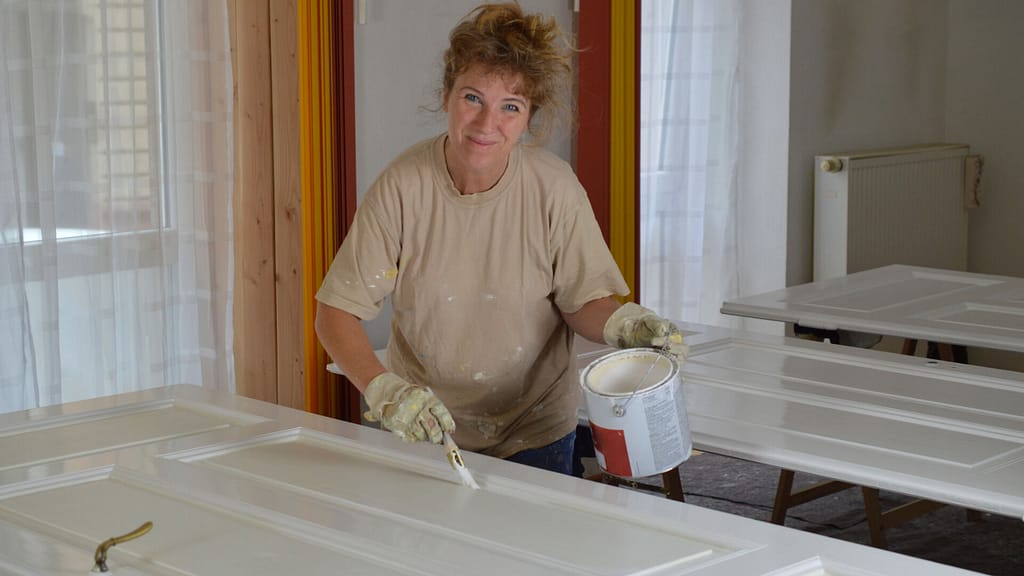
Paint the Door
Start by painting any recessed panels on the door, followed by the horizontal rails. Finish with the vertical stiles to prevent any unwanted brush strokes. Make sure the door dries fully before turning it over to paint the other side or adding a second layer.
If you need another coat, gently sand the door using fine-grit paper and clean it with a tack cloth before painting again. Once the door is completely dry, you can reattach the hardware and hang the door back in place. Before installing your door, remember to gently remove the painter’s tape if you used it. Leaving it on too long can make the paint stick to the tape.
For additional help, we’ve come across a handy YouTube video that offers a clear, step-by-step tutorial. It’s straightforward and simple to follow.
Eco-Friendly Tips for Post-Painting Cleanup
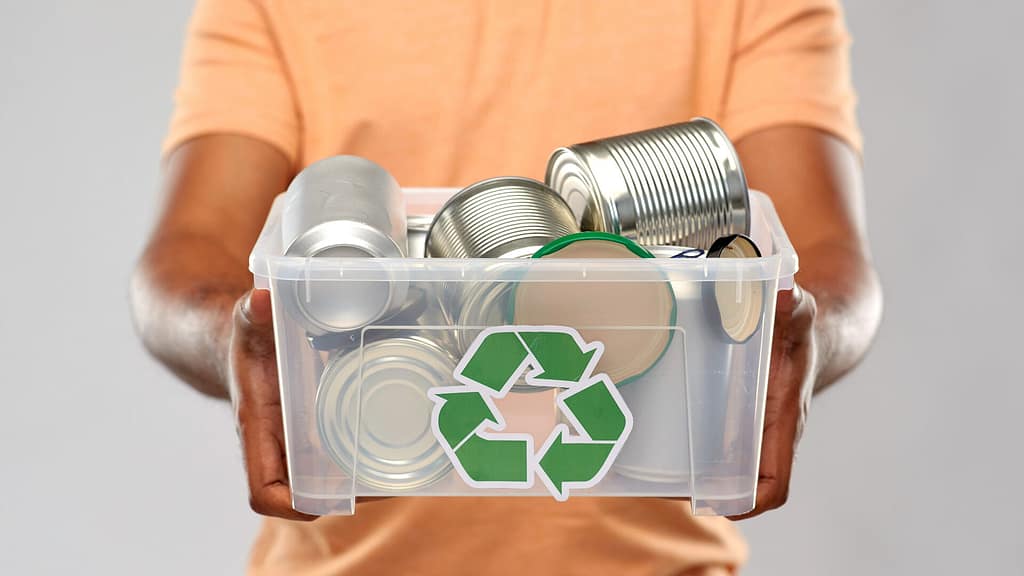
Recycling and reusing materials after a painting project can minimize waste and promote sustainability. Here are some tips for recyclability after painting your door:
- Old Coffee Cups for Brushes: Save those used coffee cups! Instead of throwing them away, you can rinse them out and use them to store your paint brushes. This keeps your brushes organized and prevents them from touching each other, which can help preserve their shape.
- Reuse Paint Cans: Empty paint cans can be repurposed for various household or garage storage needs.
- Store Leftover Paint Properly: If you anticipate another project in the future, seal your paint cans tightly and store them in a cool, dry place. Proper storage can extend the life of your paint.
- Broken Brushes as Markers: If a brush is broken or worn out, use its handle to mark garden rows or as a stake for small plants.
Conclusion
Embarking on a door painting project requires careful preparation, a keen eye for details, and a commitment to safety and eco-friendliness. From the initial inspection of the door to selecting the right tools, all the way to post-painting cleanup, each step contributes to a successful outcome. Not only does this guide offer a comprehensive look at the painting process, but it also encourages sustainability through recycling and reusing.
So, before you dive into your next door-painting venture in Virginia, remember these vital steps and eco-friendly tips. With the right approach, you’ll achieve a beautifully painted door that stands the test of time, while also doing your part to protect our environment.
Fact checked by: Adrian Catolico (11/6/23)